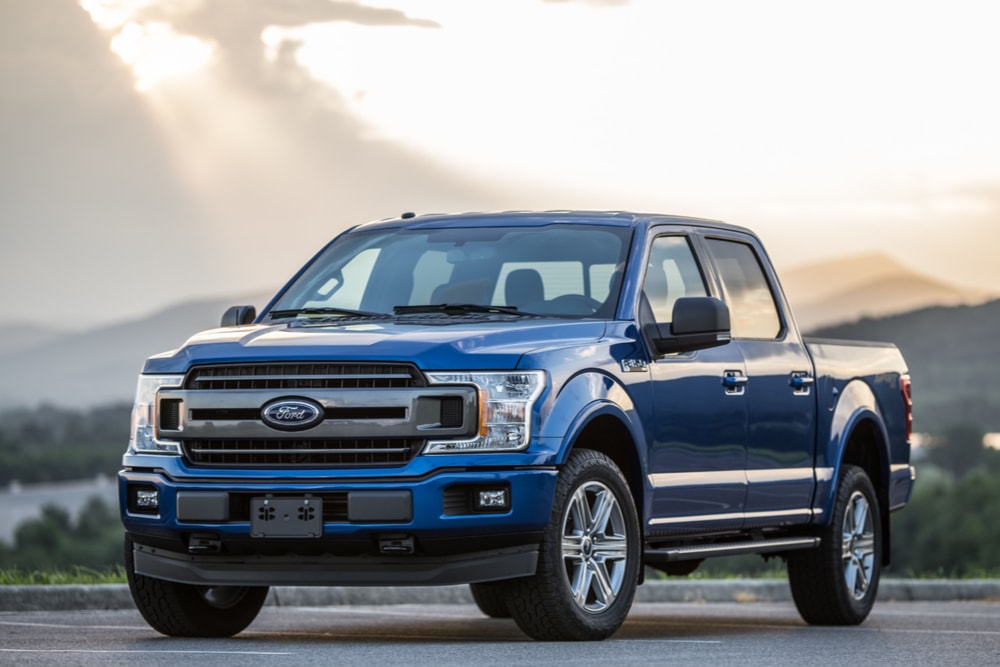
How to Easily Change Your Truck's Headlight Bulbs
If you’re looking to easily change your truck’s headlight bulbs, whether you’re replacing halogen, HID, or LED lights, it can be a simple process if you follow these steps. There are several items you’ll want to make sure you have before you get started. Make sure you have a clear workspace away from any street traffic or potential hazards. Never attempt to change your headlight bulbs if it’s raining or in a wet environment, since you’ll be working with electrical components. Safety always comes first.
What You’ll Need to Change Your Truck’s Headlight Bulbs
Before you get started, make sure that you have everything you’ll need for the process with you. You’ll save time if everything is laid out and organized, ready for you to grab. Make sure you have these items.
- The replacement aftermarket headlight bulbs for your truck.
- Gloves, or alcohol wipes and a micro-fiber cloth.
- The correct screwdriver set.
- The proper conversion kit if you’re making the switch to aftermarket headlight bulbs.
- A safe space to keep any screws or connectors you will need to reattach.
- A safe receptacle for disposing of the old glass bulbs.
If you aren’t sure which headlight bulb you need for the specific make and model of your truck, search for the correct part here.
Getting Started
Make sure that your truck is powered off, and completely cooled down before you start the actual headlight bulb change. It can get hot under the hood when the car is running and you want to avoid any possible accidents or burns. Some people also choose to disconnect their truck batteries entirely when changing headlight bulbs, for an added element of safety.
Once you have everything you need to get started changing your headlight bulbs, and the truck is turned off and cooled down, you’re ready to move on to the next step. You’ll need to lift the hood of your car and locate the headlight bulb holder and wire connectors from the inside of the hood. It’s a common misconception, but you don’t replace head lights from the outside, and you don’t have to remove the headlight cover on your truck.
Prepping Your Equipment to Change Your Truck’s Headlight Bulbs
Now that you have everything you need to change your aftermarket headlights, and your truck is prepped, you can officially get started, and get those new lights up and running. Lots of people choose to wear light gloves for this process, since the oils from your fingers can rub off onto the new bulbs, causing clouding and improper light distribution. Others choose to carefully wipe the bulbs down with alcohol pads and a soft cloth right before installation.
Either way, make sure that the bulbs you’re about to install are as clean as they can be, so that you get the best light possible as well as the best electrical connection. The rest is easy.
The Installation Process for Aftermarket Headlight Bulbs
Your truck is off, your workspace is clear, you have everything you need, and your bulbs are in prime condition for installation. Follow these simple next steps to complete your headlight bulb change.
- Disconnect the power wires from your old bulbs. They’re most likely held in place by either a clip or a cap. If so, you’ll have to undo that first.
- Now that the old headlight bulbs are disconnected from the power source, unscrew them. You should be able to twist them counter-clockwise (righty tighty, lefty loosey).
- If a headlight bulb seems stuck, jammed, or you can’t get it to move, don’t use excessive force in an attempt to get it out. This can cause the glass to shatter off the base of the bulb and you’ll need further tools or a professional to remove the broken bulb.
- Once the old bulb is out, be sure to throw it away somewhere safe. Make sure it’s off the ground, to avoid stepping on it, or running it over with your tires and causing problems later on.
- Clean your new aftermarket headlight bulbs, whether they are LED or HID lights with the alcohol wipes and soft cloth.
- Install the bulb, and connect any wires, gaskets, etc. according to the conversion or installation kit’s instruction manual, if you have purchased one. If you are changing a headlight bulb that already has an installation set-up, simply reattach the items as they were before.
- Repeat this process on the other headlight.
- If you disconnected your truck’s battery, plug it back in once both headlight bulbs have been changed.
- Close the hood of the truck, start your vehicle, and turn on the lights to ensure that they power up correctly.
- Check the height that the lights shine. They should not be too high, as they will impeded the vision of other drivers, or too low, as they won’t provide you with the light you need. They should be facing straight ahead.
- That’s it, get driving, you’re all set to go.
Finding the Right Aftermarket Headlight Bulbs for Your Truck
RECON is proud to be a leading aftermarket automotive lighting provider, and we are here to serve all your truck’s lighting needs. Check out our handy headlight installation guides for additional information, or contact us today to speak with an automotive expert.
